
Highlights:
- Light, powdery snow usually melts or slides off on its own within a day or two thanks to the panel’s angle and the heat it generates from sunlight
- Only intervene when snow is heavy and wet, sits for several days without melting, or has formed a crusty layer of ice on top
- Stick to soft-bristle rakes, foam-edged tools, or rubber squeegees — metal shovels, stiff brooms, and abrasive pads can scratch the glass surface and void your warranty
- Work from top to bottom with light, even strokes, and never force through ice or apply heavy pressure directly on the panel
- Never use hot water on cold panels, since the sudden temperature shift can crack the glass
- Prioritize safety over speed: avoid climbing onto snowy or icy roofs, use extendable tools from the ground when possible, and call a professional if the setup feels risky
- A few snow-covered days won’t damage your system or cause major losses in most cases, but checking your monitoring app and doing a quick visual inspection afterward helps catch any real issues early
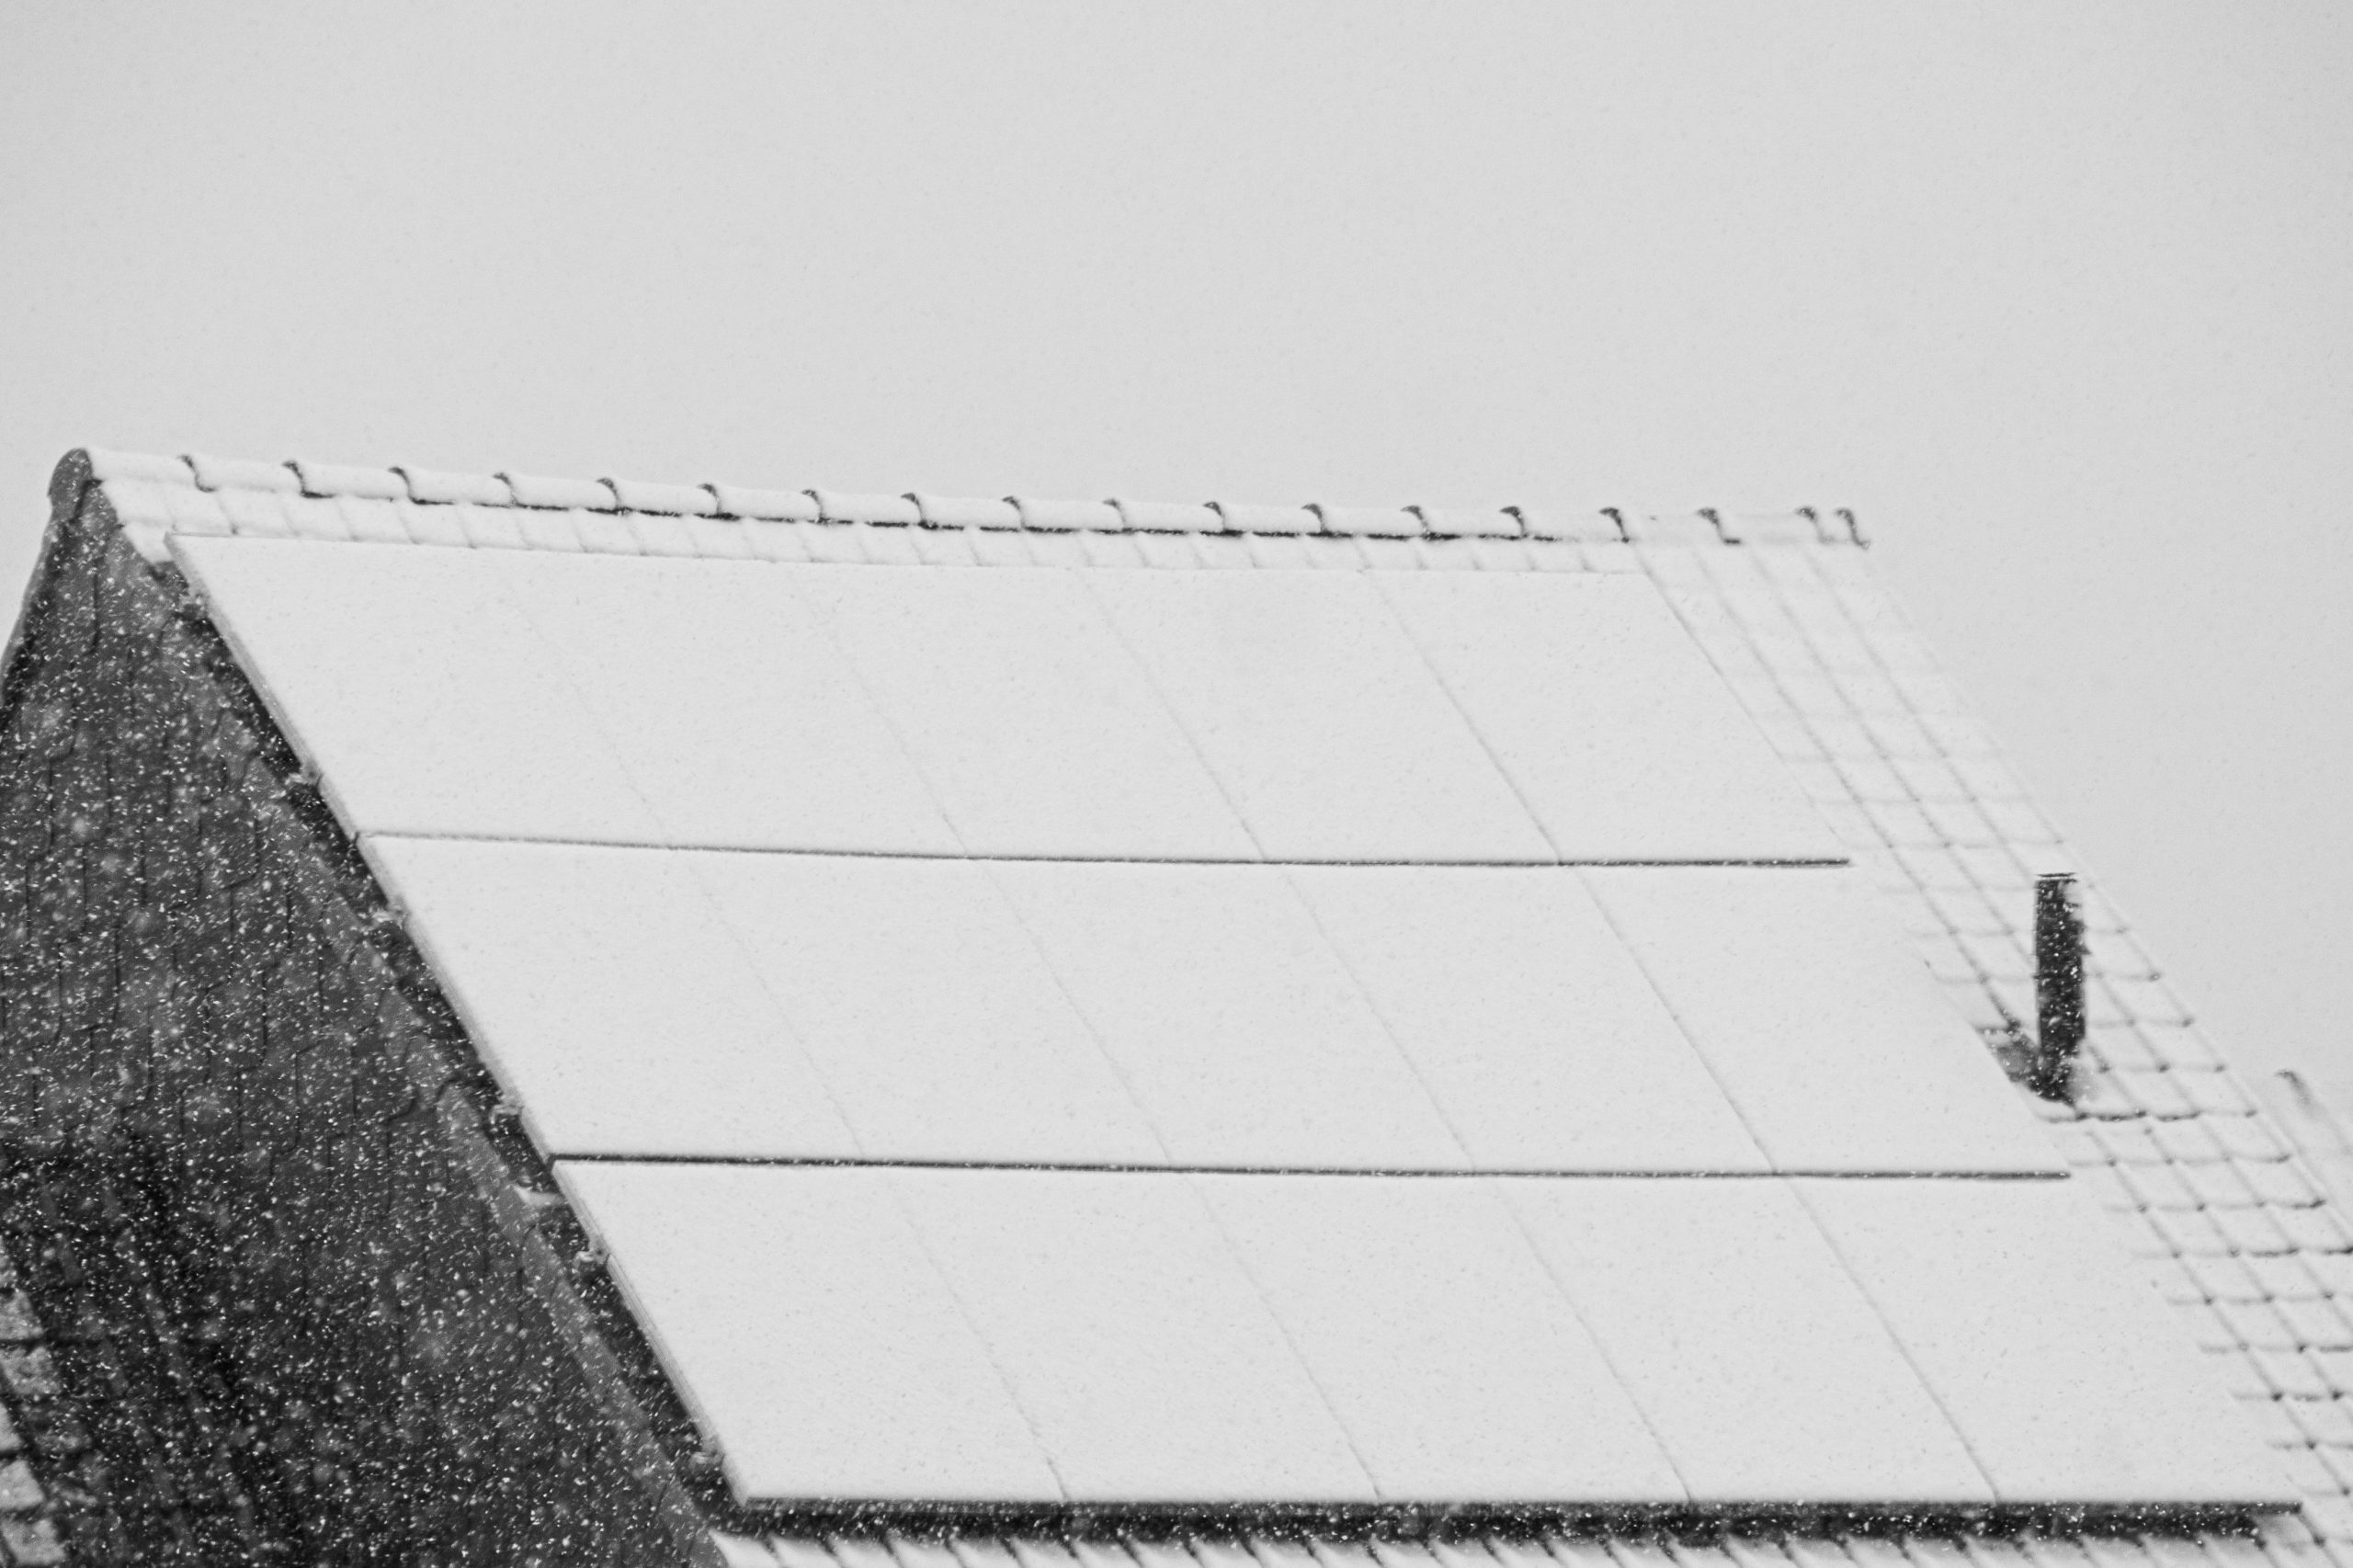
Winter can be rough on solar panels. One day they’re soaking up sunshine and cranking out clean energy, and the next they’re buried under a few inches of snow, doing absolutely nothing for your power bill. If you’ve ever stood in your yard staring up at a white blanket covering your panels and wondered whether you should grab a broom and start swiping, you’re not alone. It’s a common question, and the answer isn’t as simple as “just clean it off.” Done wrong, snow removal can crack panels, void warranties, or even land you in the emergency room from a slip off a ladder. Done right, it’s a quick, low-risk task that gets your system back to producing power fast.
This guide walks through everything you need to know about clearing snow from solar panels safely, including when to leave it alone, what tools to use, what to avoid, and how to keep your system running efficiently all winter long.
Why Snow on Solar Panels Isn’t Always an Emergency
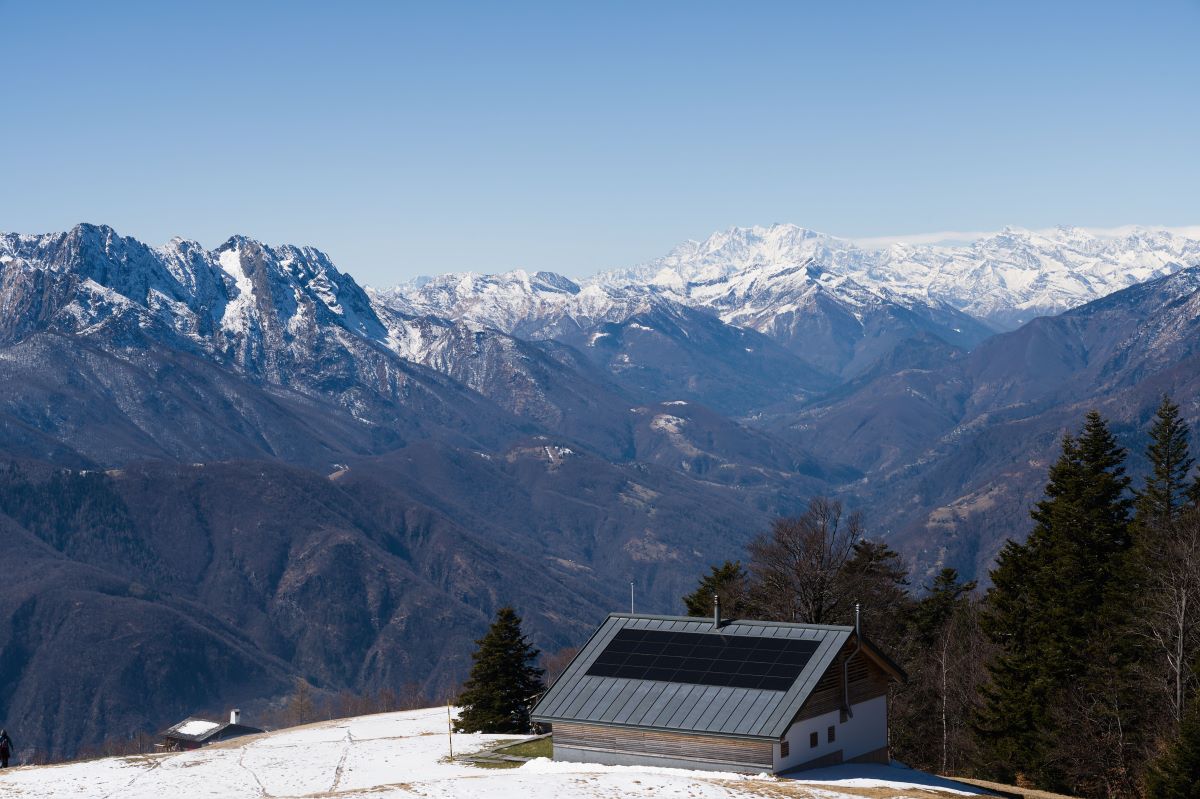
Before you rush outside with a rake, it helps to understand what’s actually happening when snow piles up on your panels. Solar panels are installed at an angle specifically so that rain, and often snow, can slide off naturally. Combined with the fact that panels generate a small amount of heat just from sitting in daylight, a lot of light dustings and even moderate snowfalls will melt or slide off on their own within a day or two, especially if the sun comes out even briefly.
There’s also a phenomenon worth knowing about: even a thin layer of snow can let some sunlight through, and the dark surface of the panel absorbs heat, which speeds up melting from underneath. So a panel that looks totally snowed-in in the morning might be mostly clear by early afternoon.
That said, there are situations where snow removal makes sense:
- Heavy, wet snow that’s sitting for several days with no sign of melting
- A long stretch of cloudy weather where panels aren’t getting any direct sun to help melt the buildup
- You rely heavily on solar production and can’t afford days of zero output
- Ice has formed on top of the snow, creating a stubborn crust that won’t budge naturally
If none of those apply, the safest and easiest move is often to just wait it out. Nature does most of the work for you, and you avoid any risk of scratching, cracking, or otherwise damaging expensive equipment.
Signs It’s Time to Clear the Panels Yourself
Knowing when to intervene comes down to a few practical signs. If your panels haven’t shed snow after a few sunny days, that’s usually a signal something is preventing natural melt, like an unusually thick accumulation or a persistent cold snap with no sun at all. Another clue is a noticeable and sustained drop in your system’s energy output, which you can typically check through your solar monitoring app or inverter display.
You should also pay attention to the type of snow. Light, powdery snow is fairly harmless and tends to blow or slide off with minimal effort. Wet, heavy snow is denser, sticks longer, and is more likely to need help getting off the panels. And if you notice a layer of ice underneath the snow, that’s a bigger problem, since ice is much harder to remove safely and often needs to melt on its own rather than being scraped.
If you’re the kind of homeowner who keeps a running list of home maintenance tasks by season, it’s worth adding “check solar panel snow buildup” to your winter checklist so it doesn’t slip your mind during the colder months.
Tools That Are Actually Safe to Use
The tools you choose matter more than almost anything else in this process, since panels have a glass surface coating that scratches more easily than you’d think. Here’s what generally works well:
- A soft-bristle roof rake or snow rake with a rubber or foam edge — these are designed to pull snow off a sloped surface without gouging into it
- A long-handled squeegee with a soft rubber blade — useful for lighter snow or slush once most of the bulk has been removed
- A soft brush attachment made specifically for solar panels — some manufacturers and third-party brands sell these, and they’re worth the investment if you get snow often
- Warm (not hot) water in a spray bottle or garden sprayer — can help loosen light ice or crusty snow, though this should be used carefully in freezing temperatures to avoid creating new ice
Avoid metal shovels, ice scrapers, stiff-bristled brooms, or anything with sharp edges. These can easily scratch the protective glass layer on top of the panel, which reduces efficiency over time and can void your manufacturer’s warranty. Similarly, skip anything abrasive like steel wool or scouring pads, even if you’re just trying to knock off some stubborn residue.
Techniques for Removing Snow Without Causing Damage
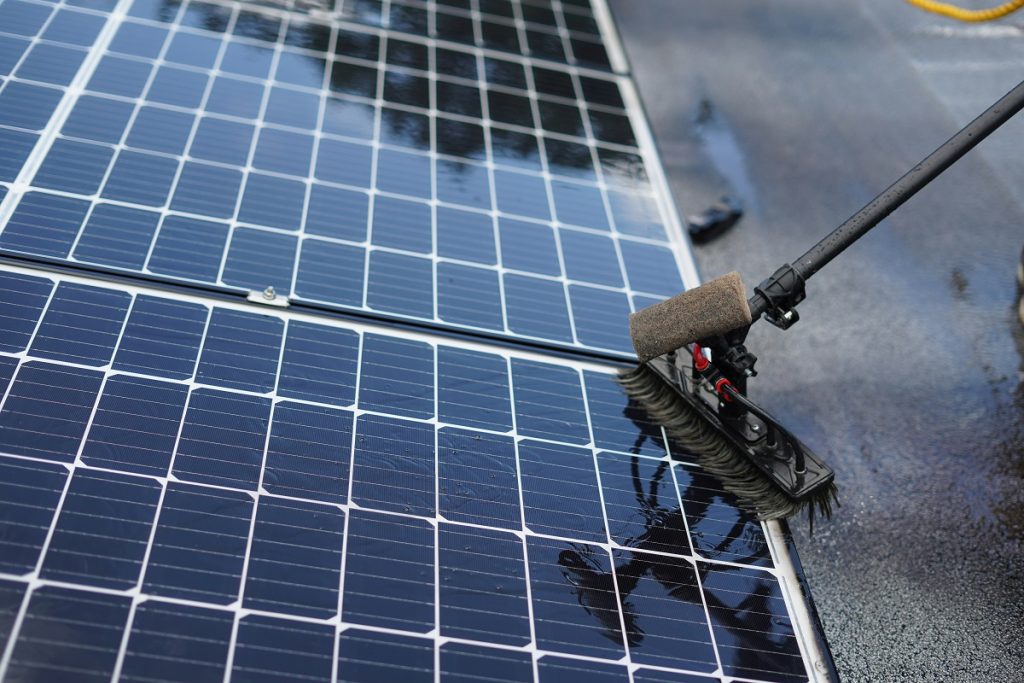
Once you’ve got the right tools, technique is everything. Rushing the process or applying too much pressure is where most accidental damage happens.
Start from the top of the panel and work downward, letting gravity help pull the snow off rather than pushing it upward against the panel’s angle. Use light, even strokes rather than aggressive scraping motions. If the snow feels packed or icy, don’t force it. Applying too much pressure to break through ice is one of the most common ways people accidentally crack a panel’s glass surface.
If you’re using a rake with an extension pole, stand at a safe distance on the ground rather than climbing onto the roof. Reaching up at an angle is far safer than trying to balance directly on or near the panels. For ground-mounted solar arrays, this is even easier since you can walk right up to them without any fall risk at all.
Here’s a simple step-by-step approach that works well for most situations:
- Check the weather forecast first. If sun is expected within a day or two, it may be worth waiting
- Use a soft-bristle rake to remove the bulk of the snow, working from top to bottom
- Avoid applying downward pressure directly onto the panel surface
- If a thin layer remains, let the sun finish the job rather than scraping it clean
- Never use hot water on cold panels, since the sudden temperature change can crack the glass
- Check your monitoring app afterward to confirm production has resumed
Patience is genuinely part of the technique here. You don’t need the panels spotless immediately. Getting most of the snow off is usually enough to let the sun handle the rest.
Why Roof Safety Should Come First
It’s worth pausing to talk about safety, because this is where things can go seriously wrong if you’re not careful. Roofs covered in snow and ice are dangerously slippery, and even experienced homeowners can lose their footing. If your solar panels are mounted on your roof, think hard about whether climbing up there yourself is really necessary.
A few safety guidelines worth following:
- Never climb onto a snowy or icy roof, even briefly, unless you have proper fall protection equipment
- Use tools with extendable poles so you can reach panels from the ground or a stable ladder position
- If a ladder is necessary, make sure it’s on firm, level ground and have someone spot you
- Avoid working during active snowfall or high winds, since visibility and footing are both worse
- If your roof pitch is steep or your panels are hard to reach safely, it’s better to call a professional
Many solar installers and specialty cleaning companies offer snow removal services during winter months. If your setup makes DIY removal risky, paying for a professional visit is a small price compared to a fall injury or a cracked panel. Some installers even include seasonal snow clearing as part of a maintenance plan, which can be worth asking about when your system is first installed.
What Happens If You Just Leave the Snow Alone
For a lot of homeowners, the simplest option really is to do nothing. Solar panels are built to handle harsh weather, including significant snow loads, without any structural damage. Manufacturers design them to withstand heavy snow and ice buildup as part of standard durability testing, so a few snow-covered days won’t hurt your equipment.
The main downside to leaving snow alone is lost energy production during that period. If you’re on a net metering plan or you don’t rely on solar for 100 percent of your power needs, a few low-output days usually aren’t a big deal in the context of your overall annual energy savings. Winter months typically produce less solar energy anyway due to shorter days and a lower sun angle, so a snow day or two blends into that seasonal dip.
If you’re off-grid or depend heavily on solar power daily, the calculation changes, and staying on top of snow removal becomes more important for keeping your battery bank charged and your household running smoothly.
Maintaining Panels After the Snow Is Gone
Once the snow has melted or been cleared, it’s a good idea to do a quick visual check of your panels and the surrounding hardware. Look for any cracks, discoloration, or loose mounting hardware that might have shifted under the weight of accumulated snow. It’s also smart to check gutters and roof edges near the panels for ice dams, which can sometimes form when melting snow refreezes overnight.
A few habits that help keep panels in good shape through the winter season:
- Trim overhanging tree branches before winter so less debris and shade interfere with natural melting
- Keep an eye on your energy production data so you notice dips quickly and can investigate
- Clean off any residual grime or salt spray after snow has melted, since both can reduce efficiency
- Schedule a professional inspection once a year, ideally before winter hits, to catch small issues early
Consistent, light maintenance throughout the season tends to be far more effective than waiting for a big problem to show up. Solar panels are a long-term investment, and a little seasonal attention goes a long way toward protecting that investment.
Wrapping It Up
Snow on solar panels looks alarming, but in most cases, it resolves itself faster than people expect. The panels’ angle, the sun’s warmth, and a bit of patience usually do the job without any effort on your part. When removal is genuinely necessary, sticking to soft tools, gentle technique, and safe positioning keeps both you and your panels protected. And when in doubt, especially on a steep or icy roof, it’s always worth calling in a professional rather than risking a fall or a cracked panel trying to save a day or two of production.
With the right approach, a little snow doesn’t have to mean a winter of lost energy. Treat it as a seasonal chore rather than a crisis, and your solar system will keep humming along efficiently once spring rolls back around.